
Writing for users is tough.
They’re fickle little creatures, aren’t they?
You have to understand what they want, need, and how they behave in different circumstances.
This information can then be used to write copy that teaches them what they need to know in their language.
Not easy.
Nonetheless, UX writing is one of the most underrated forms of copywriting.
It impacts how a user interacts with a product or app and can often be the exact reason they continue using it or not. (Not to put pressure on you.)
Poor UX copywriting will result in customers becoming frustrated and raising their pitchforks. They will enjoy the product much less as they simply can’t figure out how to use it!
As a matter of fact, 85% of problems come from an interface and its components. And that means copy, too.
Don’t worry, though.
You’re going to learn a bulletproof UX writing process you can start applying today to save time, energy, and write better.
Check it out! 👇
Step 1: Research and organize resources
Organization is key.
How many times have you started a writing project with no resources, references, or real organization?
I bet that went real well, didn’t it?
And, by “real well,” I mean disasterous.
I know because I’ve been there myself many moons ago.
Writing great content and copy requires you stay very tidy with all of the information you collect which, of course, is the first step.
Having necessary resources at your fingertips will make writing much easier as you can reference data, guidelines, and other things.
Here are some of the many resources I like to collect before writing:
- Writing guidelines
- Blog posts
- Buyer personas.
- Market reports
- Whitepapers
- Case studies
- Internal memos or documents
- Reviews and testimonials
- Emails
- Competitor information
- Etc.
Have you ever seen one of those private detective movies where they have tons of papers and pictures all over their desks? You want to be like that.
I like to ask my clients if they have any of these resources to share with me to improve the writing process, although many you can collect yourself very quickly.
Make sure you organize them, too. I recommend that you use the free tool Evernote for storing ideas, articles, etc.
Once you’ve signed up for an account, click the “Notebooks” tab on the left sidebar and create a new notebook for your project.
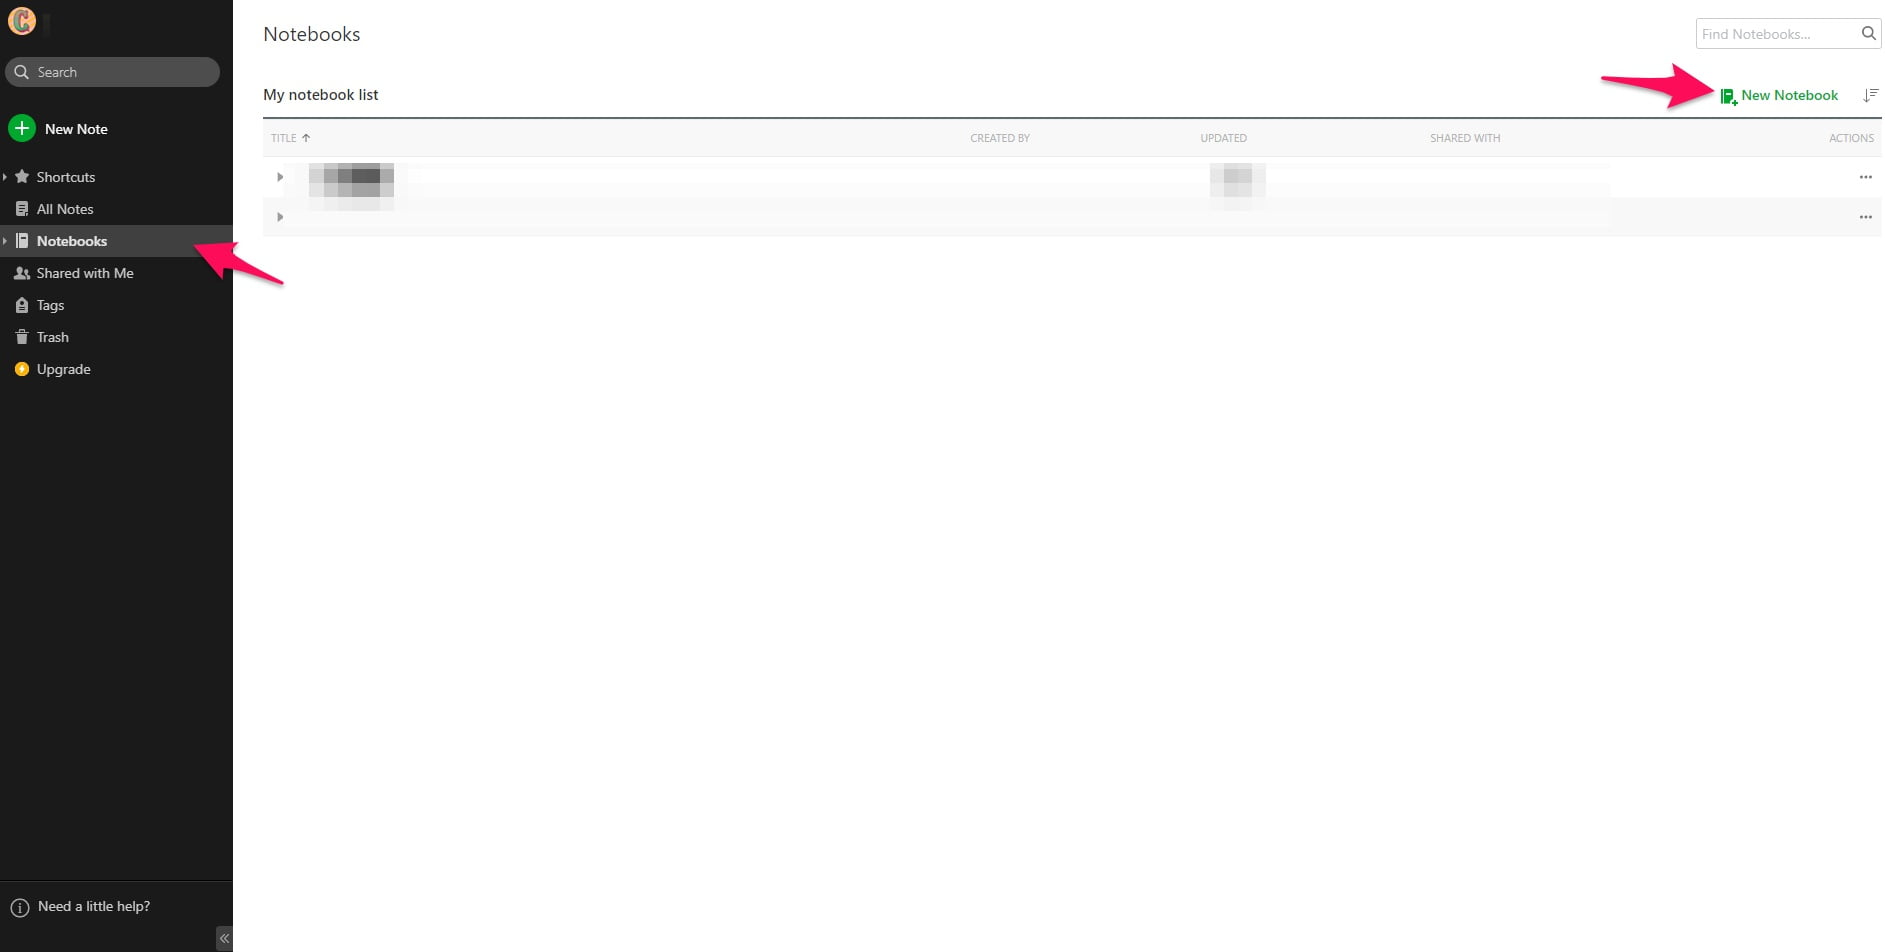
Name the notebook something related to the individual UX writing project.
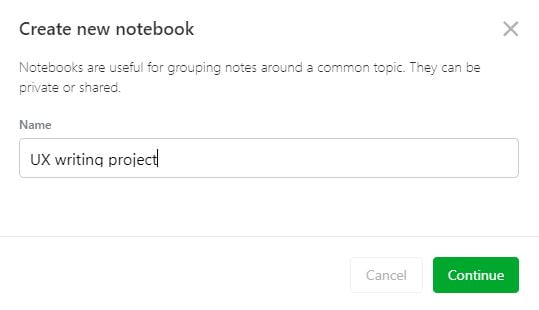
Click the green “Continue” button to finish creating the notebook.
You can then save any article or resource to this Evernote notebook by clicking the Evernote extension button and using one of the options like “Article.”
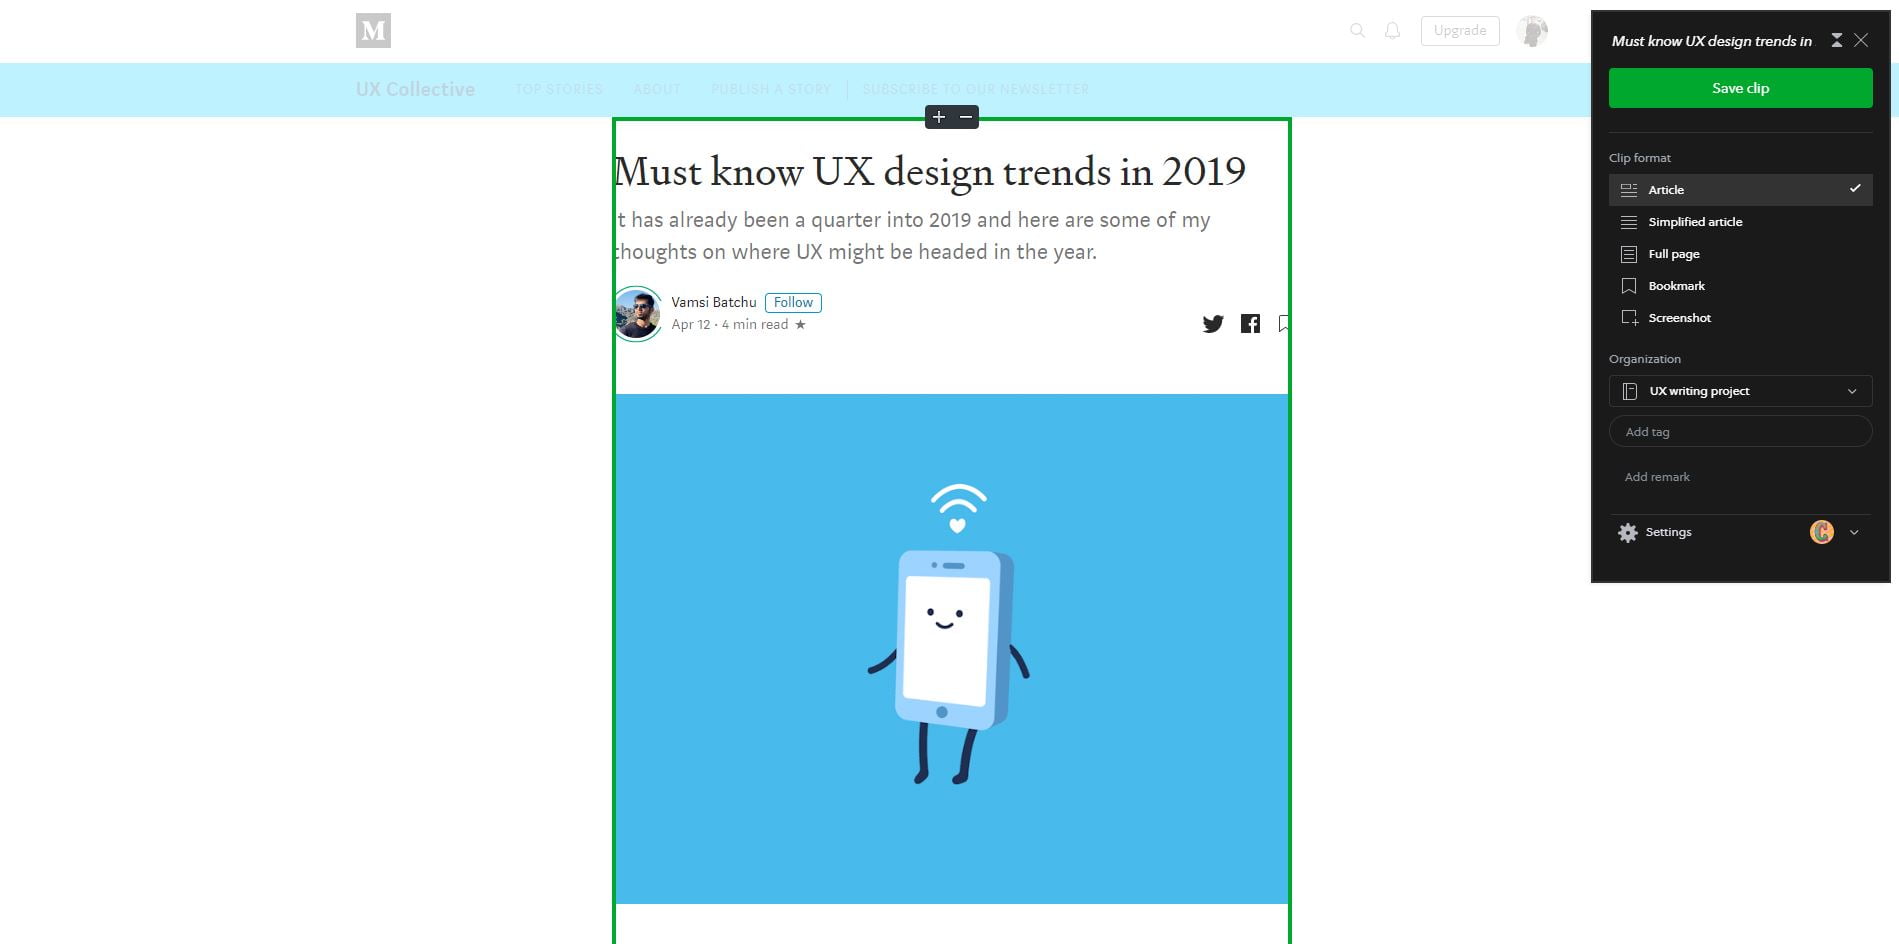
Ensure that you select your notebook’s name from the “Organization” section.
Once you’ve done this, you can move onto the next UX writing step.
Step 2: Brainstorm the user intent and how you’ll be their hero
Every product solves a problem.
What do you believe the product you’re writing about does to help the end user?
Is it helping them grow a business? Explore a hobby?
Write this down.
This is what we call the intent of the user. They’re reading the UX copy for a reason: to understand how to use the product and achieve a goal.
Additionally, you want to get in their head because every customer/product is and different it helps you make a clear mission statement to center the copy around.
Consider the e-commerce platform BigCommerce, for instance.
What do you think the user docs like below would be made for? Well, for helping entrepreneurs set up their storefronts easily, of course.
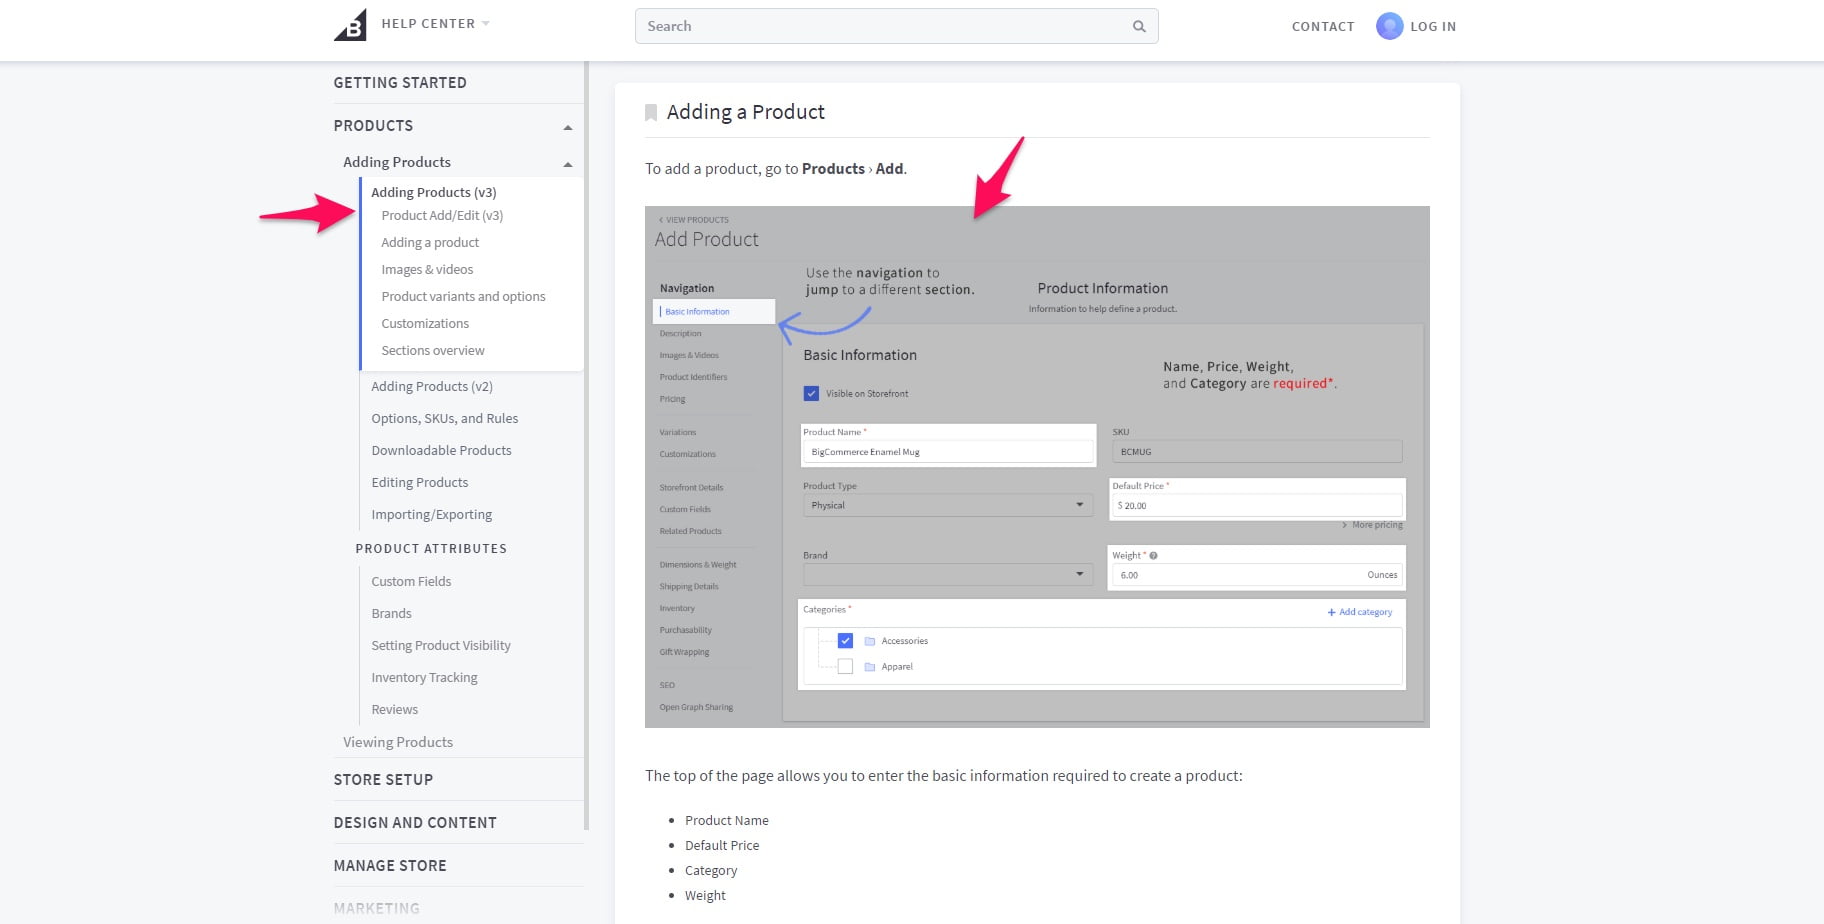
The copywriter who put together these user docs could’ve kept that goal in mind when writing to ensure every section achieves the mission statement.
All you need is an understanding of what the customer wants. Jotting that down and referencing it as you write will keep copy consistent.
Step 3: Create an outline of your UX copy
Alright, onto the fun stuff.
I never suggest that you begin writing without any kind of outline or general idea in place.
That’s a recipe for disaster.
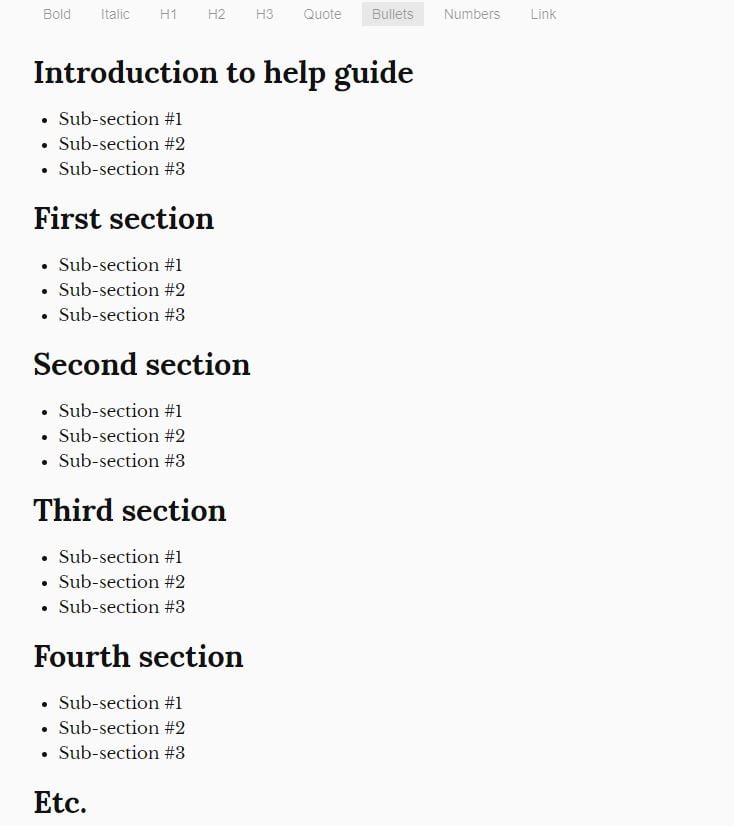
Instead, you should create an outline of the copy consistent of headers, sub-headers, and bullet points that cover all of the main information.
You can, and will, add onto this and refine it as time goes on. So, don’t try to be a perfectionist here. Simply write a skeleton of the entire project.
It should look something like this:
You can move onto the fourth step once you’ve completed this.
Step 4: Start the writing process, but don’t be a perfectionist
Writing becomes a helluva a lot simpler and smooth when you work with an outline.
Otherwise, you’ll be scratching your head and staring at a blank white screen thinking of ideas.
That’s why it’s now time to drink way a little too much coffee, put your head down, and write.
And remember, this is the first draft.
It doesn’t have to be the Picasso of UX writing on the first draft. In fact, it will probably look like a 2nd grader’s finger painting if anything.
But that’s okay.
The goal here is to write the bulk of the content without being a perfectionist. We’ll be editing and polishing it off later, anyway.
Make sure you begin by killing any distractions. That means turning off your phone, blocking social networks, and giving your full attention to writing.
Secondly, I suggest that you take regular breaks every one to two hours. This allows your brain to reset and feel refreshed once you return to writing.
Feel free to eat, grab coffee, or go for a short walk.
That brings me to my next point.
Step 5: Collaborate with other team members
UX writing implies that you need to know the ins and outs of the product you’re about.
That’s why collaborating is so powerful.
I know as a copywriter myself that even with intense research skills, you still need to conduct interviews and ask questions.
This is precisely why you need to engage with product leads and other people who are experts about the product.
Ask questions like:
- How does it work?
- What problem does it solve?
- What are the most important and widely used features?
- What do customers care about the most?
- Is there anything in particular I can do to improve my writing so far?
- Etc.
Keep in mind that problems found during the development stage of a product cost ten times as much during design.
You don’t want to write most of the project, only to realize later that you made tons of mistakes regarding the product’s features, specs, etc.
Keeping in touch with people on your team who know more will prevent this from happening.
I’d also like to congratulate you on making it this far 🙂 You can successfully move onto the last step in the UX writing process now.
Step 6: Begin cleaning up the copy and testing it
You wipe the sweat off your brow and kick your feet up.
The first draft of the wonderful copy you’ve written is done, but your job isn’t finished just yet.
It’s now time to edit and proofread the content to ensure it’s ready to be published.
Check out my 11-step copyediting checklist for an in-depth guide on editing content on that note.
Nonetheless, some of the major elements you want to audit include:
- Grammar and spelling: Check for spelling mistakes and grammar mishaps. It’s easy to make little mistakes along the way, especially when you’re writing thousands upon thousands of words.
- Punctuation: Commas, periods, and other punctuation marks are essential for clearly communicating ideas. Inspect the writing for any errors in this area.
- Logical flow: Do the points you cover make sense from a logical perspective? Would the users be seeking answers in that order? Consider rearranging the sections of your writing to align with what customers would be experiencing.
- Technical jargon: It’s okay to use technical terms, but make sure you explain what they are. This prevents users from becoming confused if they aren’t familiar with your vocabulary.
- Consistency: Use a consistent tone of voice and writing style throughout the entire project. This goes back to the point of referencing a mission statement as you write, as well.
Use a tool like Ginger Grammar Check to find improvements you can make in the snap of a finger.
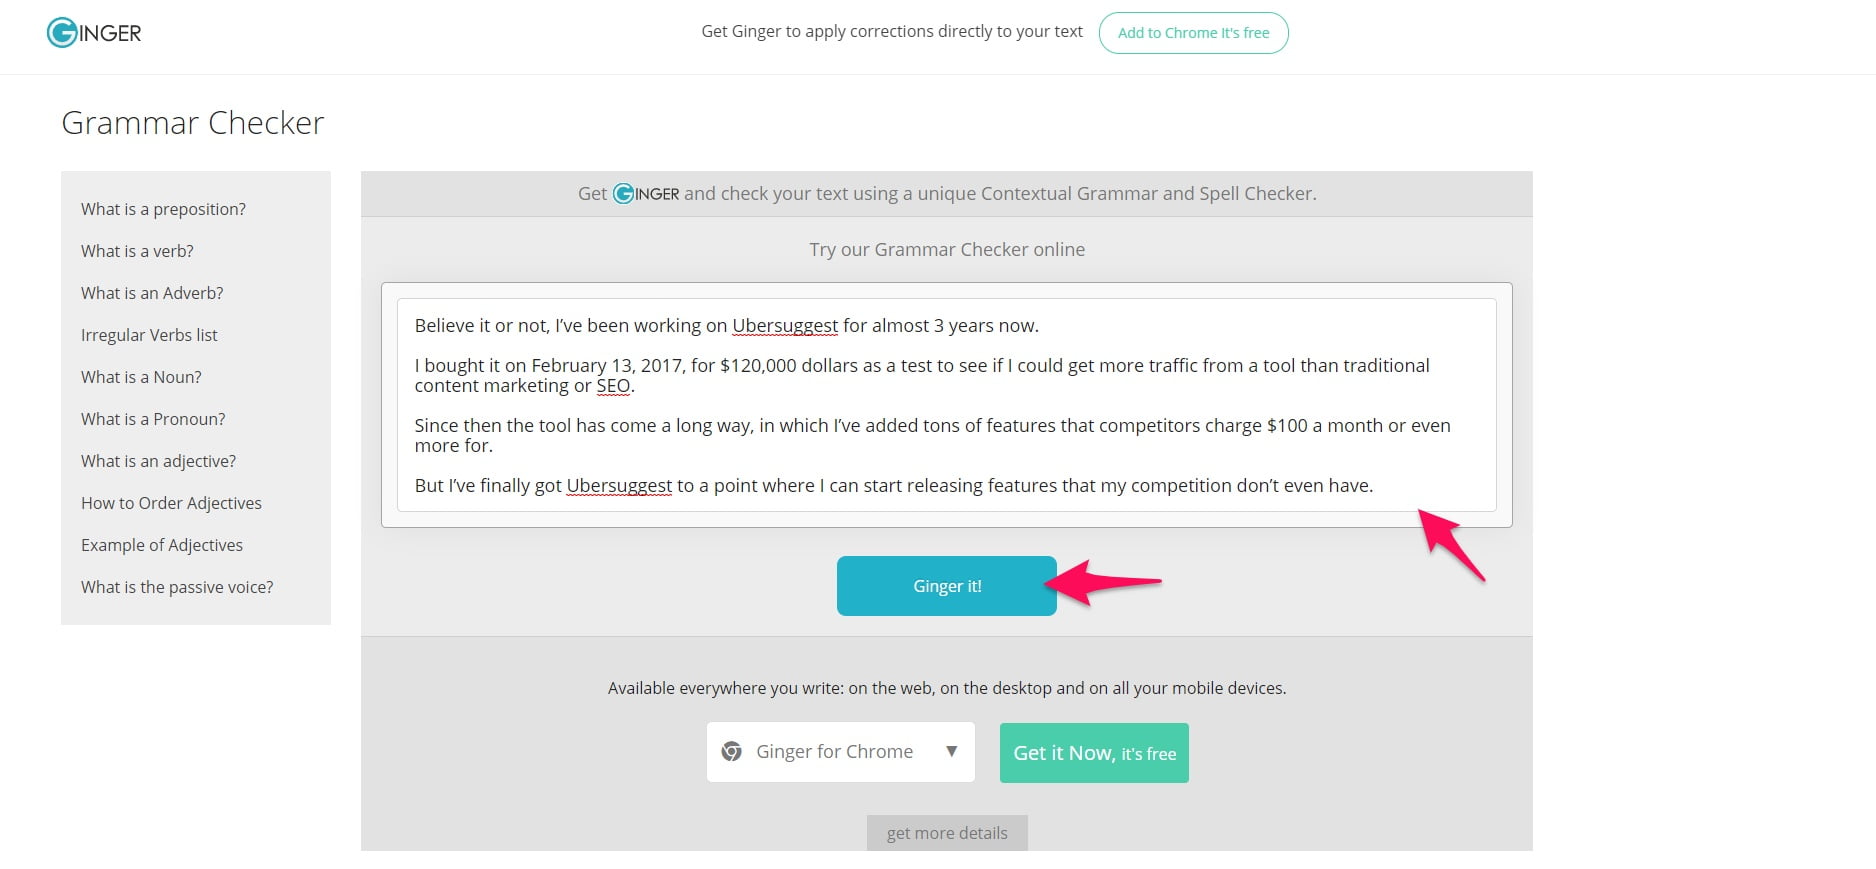
Simply paste in any content and click the “Ginger it!” button.
This will display suggestions as green text, like so:

Editing can often be a lengthy and time consuming process. So, take your time to make the end product drool-worthy. 🤤
Wrapping up UX process steps
Working on a UX copywriting project is lengthy and tough. I’ve been there many times.
But, it doesn’t have to be that way.
You can enjoy UX writing, speed up the process, and make clients happier with the process I taught you today.
It all begins with collecting resources and getting organized. Content guidelines, product details, and other information need to be at disposal.
This helps you understand the product inside and out along with what customers need to know about it.
That then enables you to write a great outline which is the third step. It doesn’t have to be overly fancy. Keep it simple.
Begin writing after this. Block out distractions and take regular breaks so you don’t burn yourself out like a smoking car.
This is also when you will want to conduct interviews with team members or at least ask questions via phone/email to better understand the product.
Lastly, edit and proofread the copy. Once it’s published, continue adding sections and clarifying points as you receive feedback from customers.
You know what you gotta do now. So, go do it! Apply what I presented today and watch your UX writing skills skyrocket. 🚀